Create and Manage a Payment Plan
Build an installment schedule, route it for approval, record installment outcomes, and handle plan changes.
Use a payment plan when the client will repay the full overdue balance through an agreed schedule. Do not use a plan when the organization accepts less than the balance. Use a settlement instead.
1. Confirm the Agreement
Before you create the plan, confirm:
- the invoice and the outstanding balance are correct
- there is no open dispute or other active plan
- the client agreed to the installment count, frequency, and first date
- your team knows if the plan needs approval
2. Create the Schedule
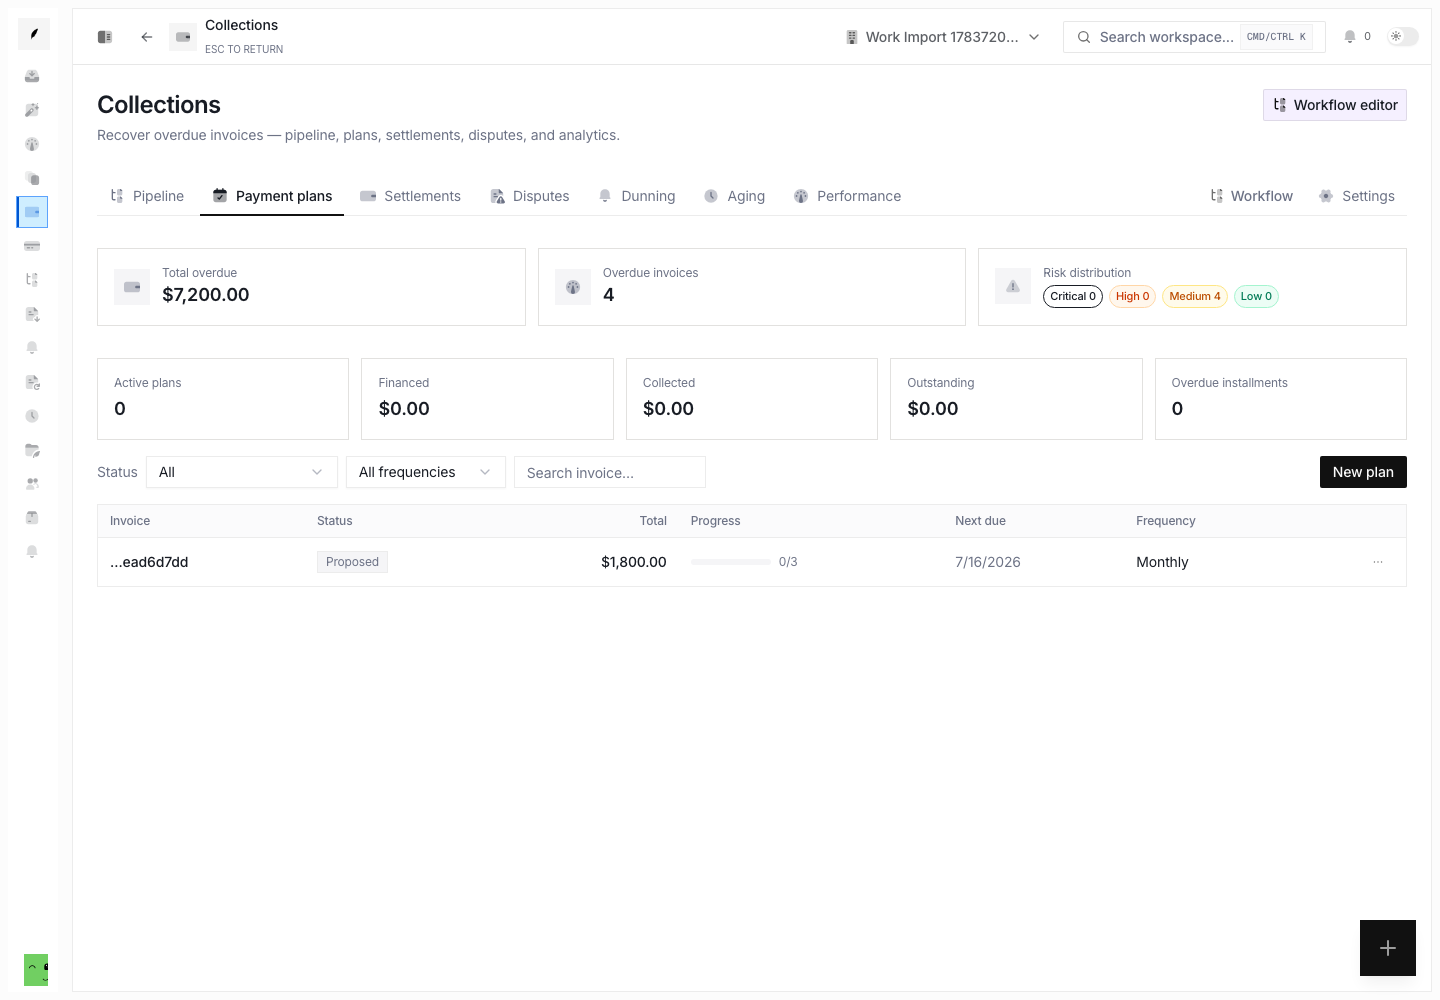
Open Collections → Payment plans. Select New plan.
- Select the overdue invoice.
- Choose 2 to 24 installments.
- Choose weekly, biweekly, or monthly frequency.
- Set the first installment date.
- Add a terms note when the agreement needs context.
- Turn on Requires approval when another reviewer must authorize the plan.
- Select Create plan.
Conduitt calculates the installment schedule from the outstanding invoice amount. Conduitt then moves the invoice into the Payment plan stage.
3. Approve a Proposed Plan
Do not approve a schedule that differs from the client agreement. Edit the terms or recreate the schedule before approval when the structure is wrong.
When the plan status shows Proposed, examine the amount, schedule, dates, and terms. Then open the actions menu for the plan and select Approve. The plan becomes Active.
4. Work Each Installment
Open the plan row. Use the Schedule tab. For each installment, record the real outcome:
- full payment
- partial payment
- waiver
- revised due date
- overdue state
- reminder sent or logged
Use the Activity tab to confirm that the plan history matches the client conversation and payment record.
5. Change the Agreement Safely
Use Edit plan terms for narrative changes. Use Extend schedule when every open due date needs more time. Use an individual reschedule when only one installment changes.
When the agreement is no longer viable:
- choose Mark defaulted when the client failed to meet an active plan
- choose Cancel plan when the plan must end for another documented reason
Both actions return the invoice to standard collections. Record why the plan ended so the next teammate does not restart the same agreement by mistake.
6. Confirm Completion
After the client pays the final scheduled amount, confirm that the plan shows Completed. Confirm that the invoice shows a paid state. Make sure that no collection task or sequence stays active for that balance.
Related Pages
Create and Manage Clients
Create client records, update account details, use full profiles, and manage archive or delete actions with confidence.
Create Custom Roles and Assign Permissions
Use the roles settings page to create custom roles, define custom permissions, and edit what each non-built-in role can do.