Settings Email
Set up workspace email, sender identity, domain verification, aliases, and archive addresses.
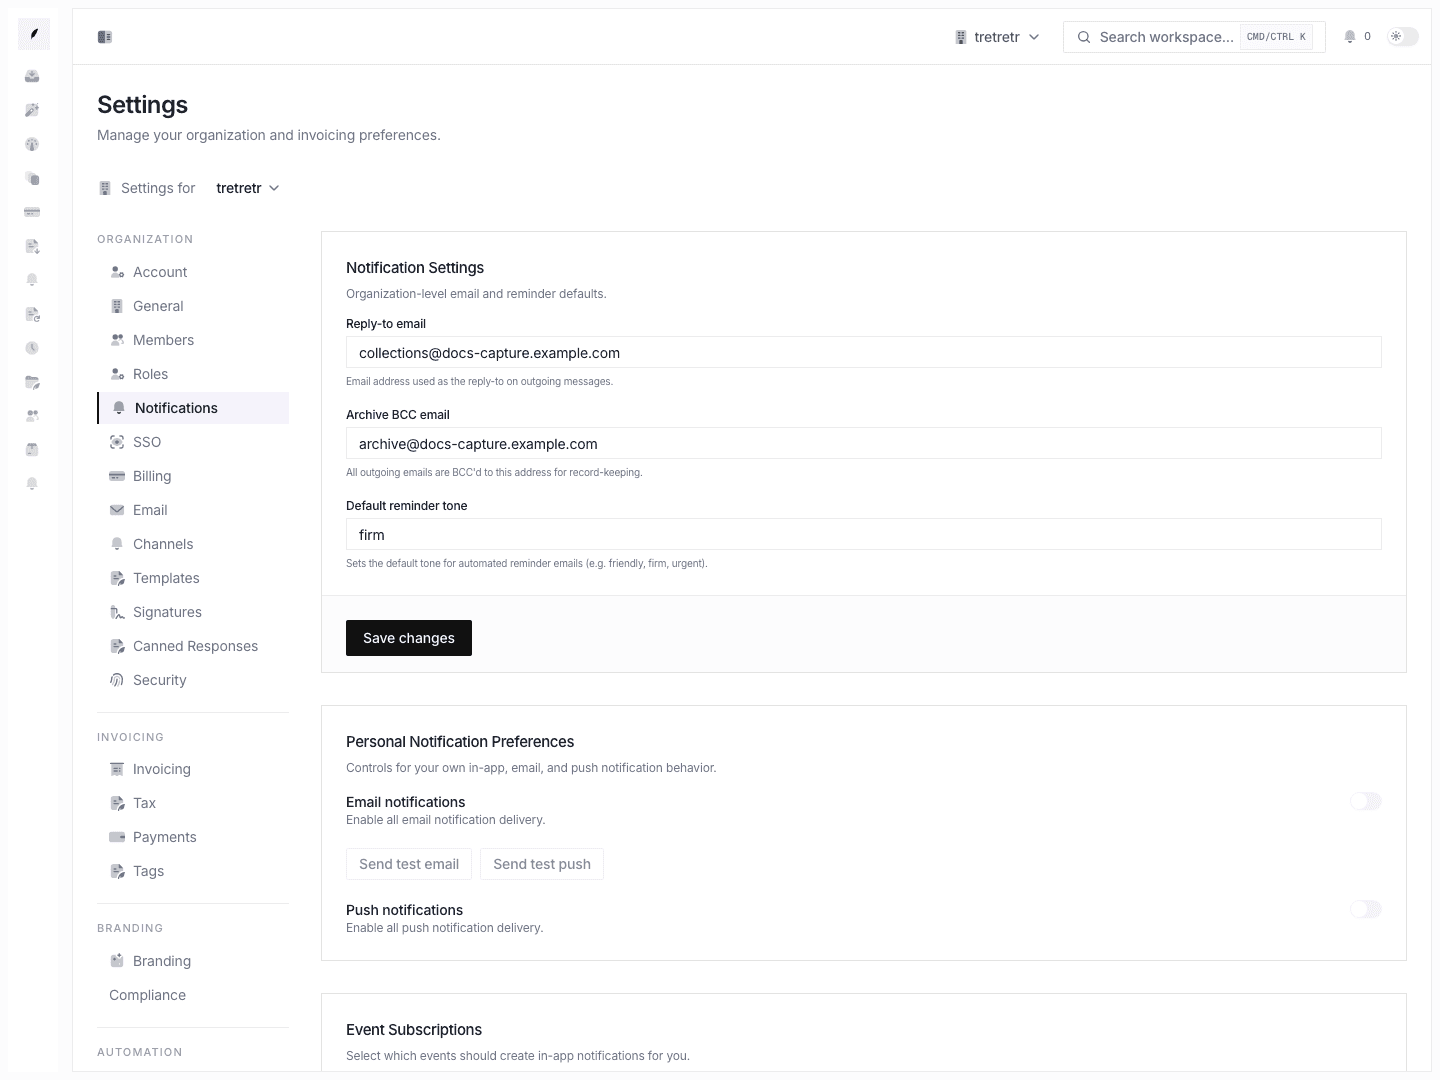
Settings → Email is where you manage the shared email setup behind customer-facing billing communication.


Typical Workflow
- Open Settings → Email.
- Enable workspace email if needed.
- Configure sender identity, sending domain, and inbound address.
- Complete DNS verification and add aliases or archive addresses.
- Test the real send and reply path.
After setup, outbound invoice communication and reply handling use the intended shared email configuration.
What you can configure
- email enablement
- inbound address
- customer service email and sender name
- sending domain
- DNS records
- alternate addresses
- archive addresses
Custom sending domain setup
Using a custom domain (e.g., billing.yourcompany.com) improves deliverability and brand trust. Without it, emails are sent from a shared Corinthian domain.
- Open Settings → Email and scroll to Sending Domain.
- Click Add domain.
- Enter your domain name (e.g.,
billing.yourcompany.com). - Corinthian generates the required DNS records. Copy them.
- Add the records to your DNS provider.
- Return to the settings page and click Verify.
Verification typically completes within a few minutes, though DNS propagation can take up to 48 hours.
DKIM, SPF, and DMARC configuration
These three DNS records authenticate your emails and prevent them from landing in spam. The exact values for your domain are displayed on the settings page after you add it -- copy them directly.
DKIM signs outbound emails so the recipient's server can verify the message was not altered. Add a TXT record at corinthian._domainkey.billing.yourcompany.com with the value shown on the settings page.
SPF tells receiving servers which mail servers may send on your behalf. Add include:spf.corinthian.app to your domain's SPF TXT record.
Warning: If you already have an SPF record, do not create a second one. Add the
include:directive to the existing record. Multiple SPF records cause validation failures.
DMARC ties DKIM and SPF together. Add a TXT record at _dmarc.billing.yourcompany.com. Start with p=none to monitor, then move to p=quarantine or p=reject once legitimate mail passes consistently.
From-address configuration
The from address is what recipients see in their inbox.
- In the Sender Identity section, set the From name (e.g., "Acme Billing").
- Set the From email (e.g.,
[email protected]). This must be on the verified sending domain. - Save.
Reply-to address
The reply-to address controls where client replies are routed. It can differ from the from address.
- Enter the Reply-to email (e.g.,
[email protected]). - Save.
Tip: Route replies to a shared mailbox so your team can respond without relying on a single person's inbox.
Email signature
Corinthian appends a configurable signature to outbound emails.
- Scroll to the Signature section.
- Enter your signature text. Plain text and basic HTML are supported.
- Save.
The signature appears below the email body on every outbound message. To disable it, clear the field and save.
Testing email delivery
After configuring your domain and sender identity, send a test message before going live.
- Scroll to the bottom of the email settings page.
- Click Send test email.
- Enter a recipient address (use your own).
- Check your inbox for the test message.
- Verify: the from name and address look correct, the message is not in spam, and DKIM/SPF pass (check email headers).
Tip: Use a tool like Mail Tester to score your email deliverability before sending to clients.
State and permission behavior
- saving the form is not the same as completing DNS verification
- email routing changes can impact live customer traffic immediately
Troubleshooting
DNS verification has been pending for hours
DNS propagation can take up to 48 hours. Check your records using dig or an online DNS checker. If you use Cloudflare, set the records to "DNS only" (gray cloud), not proxied.
Sending still fails after the settings look correct
Review DNS record completion and sending-domain verification. The form can save before the domain is actually ready.
Replies are not landing where expected
Check the inbound address, reply-to behavior, and any archive BCC settings.
Emails landing in spam
Verify DKIM, SPF, and DMARC are all passing. Check the email deliverability guide for a full checklist.